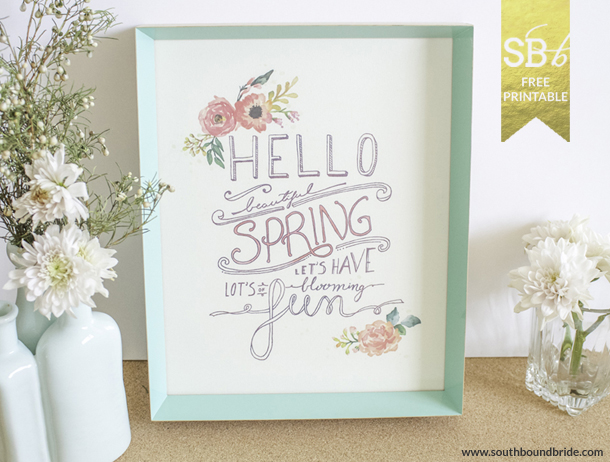
Happy Friday, lovelies! With the equinox coming up, we have such a lovely little spring printable for you today from the talented Vicky at Mocholoco. As well as being an awesome stationer, Vicky is also one of our real SouthBound Brides (her gorgeous DIY beach wedding was one of my favourites of 2013), and is also about to relaunch her website, so to celebrate, she created this gorgeous watercolour-style poster – the perfect addition to your desk (or desktop). I’m not sure if brides and grooms always realise the huge amount of thought and process and creativity and hard work that goes into producing bespoke stationery pieces, and I’m personally pretty fascinated by how it’s done. So instead of just presenting the finished product, I asked Vicky to give you all a little glimpse behind the scenes into her process. Blood, sweat and glitter! Thank you SO much, Vicky – be sure to click through to her site to see more of her lovely work.
I hope you all enjoy this free printable I made for spring. I thought it would be nice to show a little bit of how the process of designing a poster works. Many people think that designers just sit in front of the computer, choose different fonts and voila, job done. But the process is a bit longer, more intricate and fun than that.
I love doing as much as I can on paper before I get to the final stage where I bring the artwork into the computer for the last retouches. Here is a simple step by step process that I normally like following:
1. Finding the right phrase
For this project I wanted to use an inspiring phrase with the spring theme. I looked in Pinterest and Google but didn’t find anything that really motivated me so I started writing down words and putting together my own Spring Phrase. “Hello beautiful spring. Let’s have lots of blooming fun” was what I decided to go ahead with.
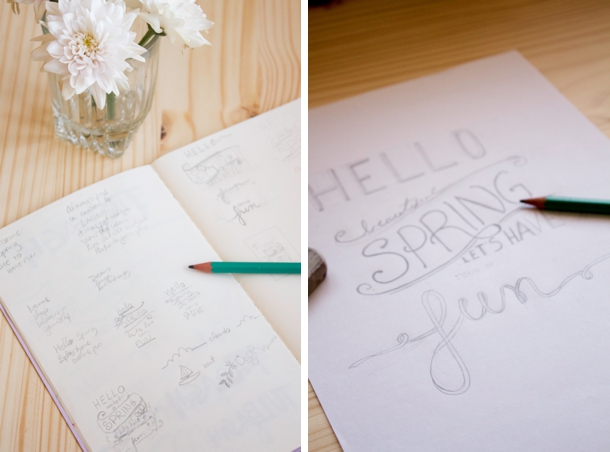
2. Trying layouts and finding the right one
In my sketchpad I tried different options for the layout, playing around with the words and making sure that the main ones, “hello”, “spring” and “fun”, were accentuated.
3. Sketching each word
Once I decided on a layout I started sketching the different words, each of them in a different custom typeface. Normally I go through many sketches for each word until I’m 100% happy.
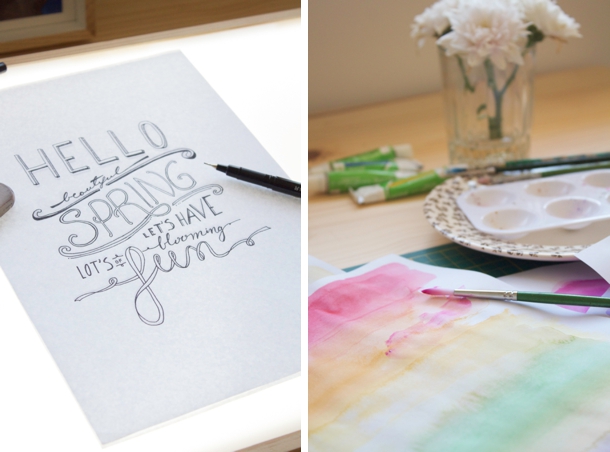
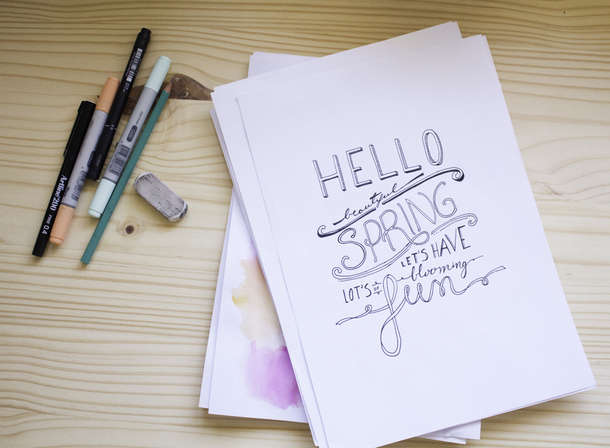
4. Inking
Finally, once I had the final design of each word, I took the pencil sketches and inked them. For this I use a lightbox. It’s not really necessary to have the final art inked but in my opinion it makes a big difference for the next step.
5. Scanning
It’s very important to have the final artwork in dark pen, otherwise the scanner doesn’t pick up the light pencil strokes. The clearer the ink work is, the less computer editing work will be needed afterwards.
6. Final retouches in the computer
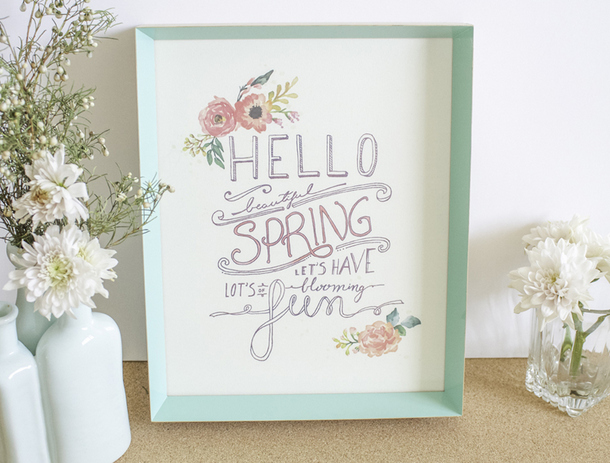
Once I have the artwork scanned, I use Illustrator and Photoshop to do the final details. In this case to give the watercolour feel to the letters and add the embellishment flowers that finish off this poster.
You can download this gorgeous spring poster printable here.

Mocholoco
[email protected]
mocholoco.co.za
www.facebook.com/MochoLoco