
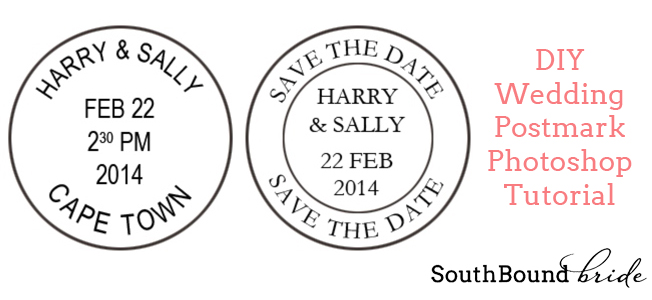
A few weeks ago, I highlighted some gorgeous travel-themed invitation suites, and today I thought I would follow that up with a little DIY that might help brides and grooms who want to create a similar look but maybe aren’t Photoshop whizzes. I feel you guys, because when I started this blog three years ago, sshhh! but I only knew how to use Paint. Seeryus. Those of you who have been with me for a while will know how tragic that first banner was. Anyway, the point is, sometimes we all need a bit of step-by-step guidance. One element I really liked in a number of the suites that were featured was the inclusion of customised postmarks, with the bride and groom’s names and wedding date and location. Whether you incorporate it into an invitation design, or have it turned into an actual rubber stamp (love that idea!) this Photoshop tutorial will show you how to create one these sweet little jetset wedding details for yourselves.

1. Open a new document and create a new layer (Top menu: Layer -> New -> Layer)
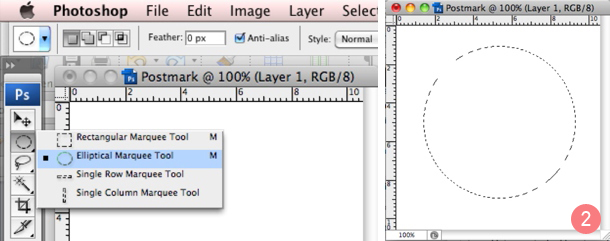
2. Click to pull out and select the elliptical marquee tool from the Tools menu (the one down the left of the screen). Hold Shift down, click and drag the mouse to create a circle. You can also hold down the space bar at the same time to move the circle around.
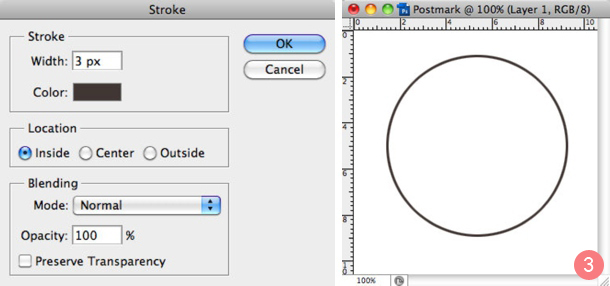
3. Add a stroke (Top menu: Edit -> Stroke). Set the width at a reasonable amount (I used 3px), the colour to black #000000 and the location to ‘Inside’. Click OK and then ctrl+D, and you’ll be left with a circle like the one above.
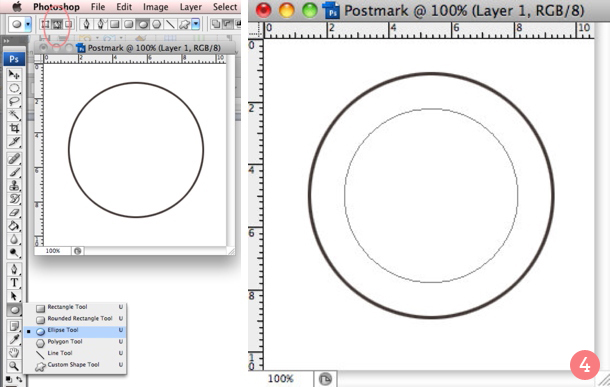
4. Go back to the Tools menu and select the ellipse tool (note: not the same as the one you just used, this is further down the menu ;) ). Make sure that ‘paths’ are selected top left (you can see this circled in the screenshot). Hold Shift down again, click and drag the mouse to create a circular path inside the first circle (this is where your text will sit). You’ll need to hold down the space bar again to move it around so that it’s aligned at the centre of the first circle.
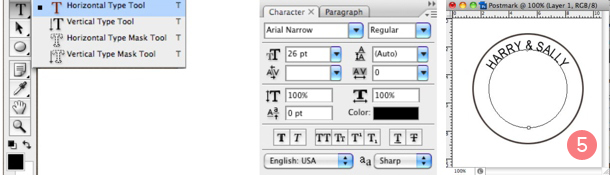
5. Choose the horizontal type tool on the Tools menu. Open the character window (Top menu: Window -> Characters) and select the following font options: Arial Narrow (you don’t need fancypants fonts for this, yay!) and black text colour. Then hover over the top centre of the path (i.e. the smaller circle) and you’ll see the cursor change from a circle to a sort of wavy line. Click once and then you can type your names. Click on another tool to exit when you’re finished.
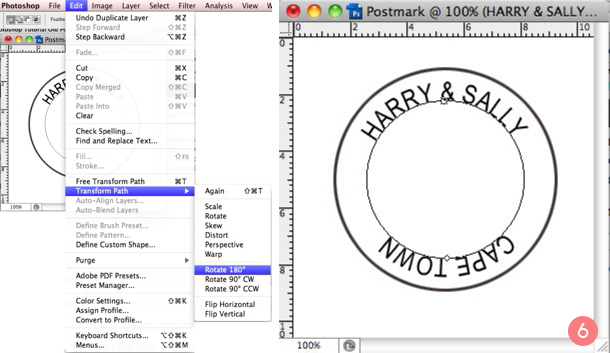
6. To add the text at the bottom of the circle there are a couple of workarounds, but I think this is the easiest. In the layers window on the right hand side of your screen, select the text layer (i.e. the one with your names). Then duplicate this layer (Top menu: Layer -> Duplicate Layer). Select the new layer on the right and then click Top menu: Edit -> Transform Path -> Rotate 180°. Click onto the horizontal type tool again and then click on the upside down text, editing it to show the place where you are getting married.
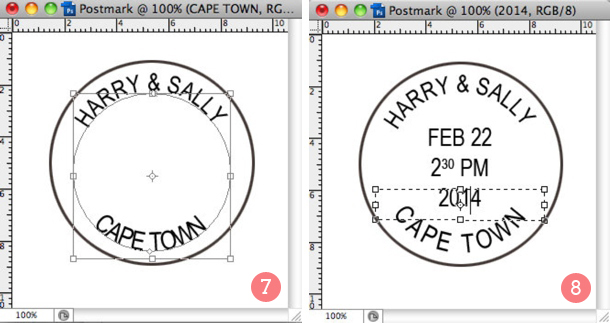
7. Flip the text to the inside of the path (Top menu: Edit -> Transform Path -> Flip Horizontal). Then you’ll need to move the text to the outside of the path by clicking on the Top Menu: Edit -> Free Transform Path and holding down shift+alt as you click on one corner to drag the circle out. Click onto another tool to finish. Realign as needed. If the location text looks squished up, just go to the Character window (like you did when you chose the font), and change the number in the tracking box until it looks right. (Mine works at about 150.)
8. Finally, you just need to add the date, hour and year of your wedding ceremony on to the centre of the stamp, using basic horizontal type layers for each one. Centre them and adjust as needed, and then save your file.
That’s it! You have a gorgeous little custom wedding postal canceller. I haven’t distressed this in case you want to use it as a clean design for a real rubber stamp, but if you’re printing it, you could add a layer mask quite easily in Photoshop too. Or try this variation:

1. Follow steps 1-5 as above, but make the path in step 4 a little larger and closer to the main circle outline. Instead of writing your names at the top, write ‘save the date’.
2. Follow Step 6 as above, but write ‘save the date’ in that space as well. A serif font works well here – I used Garamond.
3. Select the layer that has the outside circle on it and then duplicate that layer. Resize the second circle so that it’s smaller than the outside one, and so that the text sits in between the two.
4. In the centre spaces, add your names and wedding date. Adjust the font sizes until you’re happy with the overall look.


Comments are closed.